Contents
How to fix dark rooms and blown-out windows without bracketing gear
By the Duskpix team · Published 19 November 2026
Mostly at the shoot, not in the edit. A phone can hold a window and a room in one frame when the gap between them is moderate, and the way to make the gap moderate is light, timing and where you put the exposure. Editing then lifts what the phone recorded. It cannot recover a window that recorded as pure white or a corner that recorded as black, and the honest fix for those is to shoot again or to book a photographer.
The short answer
- Shoot when the sun is not coming straight through the window you are facing.
- Turn on every light in the room and open every blind.
- Tap the phone on something mid-toned, not the window and not the darkest corner, and lock it.
- Nudge the exposure down a touch so the window keeps detail; the room can be lifted later, the window cannot.
- Keep the phone still: prop it, use the timer.
- In editing, lift the shadows and pull the highlights modestly, correct the colour, and stop before it looks lit from nowhere.
Why it happens
A sunlit window is many times brighter than the wall beside it, more than any single exposure can hold. The camera picks a middle and loses one end: expose for the room and the window goes white, expose for the window and the room goes black. Phone HDR merges several exposures automatically and has closed much of that gap, which is why windows no longer always blow out. But in the hardest rooms, a dark lounge with one bright opening, it still cannot hold both, and below roughly 5 lux a recent flagship drops into a long-exposure night mode that outputs a smaller, noisier file (DXOMARK). The fix is to shrink the gap before the phone has to deal with it.
At the shoot, where most of the fix is
- Time it. Shoot the window-facing rooms when the sun is on the other side of the house, or under cloud. Direct sun through the glass is the one condition nothing below rescues.
- Light the room. Every lamp and downlight on, even in daytime. You are raising the dark end toward the bright end. Mixed colour temperatures can be corrected later; darkness cannot.
- Open everything. Blinds up, curtains back, internal doors open so light comes from more than one direction.
- Stand with the window beside you where the room allows, rather than facing it. The frame then has the window at one edge, lit by the same light that lights the room.
- Steady the phone. Prop it on a shelf or a tripod and use the timer. A still phone lets the camera use a longer exposure without blur, which is exactly what a dark room needs.
- Leave the flash off. A phone flash lights the nearest object and leaves the rest darker by comparison.
Where to put the exposure
Tap to focus on something of middling brightness, a wall or the floor, not the window and not the shadow under the table. Then touch and hold until the camera shows AE/AF Lock, so it stops re-metering as you move (Apple Support). Drag the exposure control down slightly. The rule is that a slightly dark room is recoverable and a white window is not, so if you must lose one end, lose the shadows. Take the frame, then take a second one a touch brighter; pick the better one on the desktop, where the difference is easier to see.
In editing, what helps
- Shadows up, highlights down, modestly. This is the digital version of what the room needed, and it is the adjustment regulators treat as ordinary: NSW Fair Trading’s guidelines allow lighting adjusted to compensate for poor light, while forbidding features to be digitally added or removed (NSW Fair Trading).
- Colour. Lamps are warm and daylight is cool; a room lit by both goes orange in the corners and blue at the window. Correct toward neutral walls.
- Straighten. A dark room shot from a low prop often tilts. Verticals vertical.
- Stop early. A room lifted until no shadow remains looks lit from nowhere, and buyers notice before they can say why.
What cannot be fixed honestly
- A pure white window. There is nothing in the file. Painting a view in is adding a feature, and our editing rules guide puts that in the never tier.
- A black corner. Lifting it reveals noise, not detail. If the room needs that corner, it needs light or a longer exposure, which means shooting again.
- Noise in a dim room. Reduction smooths texture along with grain; floors and fabrics go waxy. A little is fine; a lot reads as fake.
What photographers do instead
They take several exposures of the same frame, from dark enough to hold the window to bright enough to hold the corners, and blend them, often with a flash frame mixed in for clean colour. That is the bracketing this article is about doing without. It is the right tool for a view that sells the property or a large dark interior; our guide to when a photographer is worth it sets out where the line falls. For the rooms on the easy side of it, the steps above get a phone most of the way.
In Duskpix
The free Light tool does the modest version by hand: brightness, contrast and warmth, with no credit spent. Smart Edit and the styles go further, lifting a dull or dark room and correcting its colour while keeping the walls, windows and fittings as shot (see rentals). Corrections straightens the tilt from a propped phone. None of it is a fix for a window that recorded as pure white or a corner that recorded as black: check every edited window against the property before you publish, and where the detail was never captured, the answer is the light and the steps above.
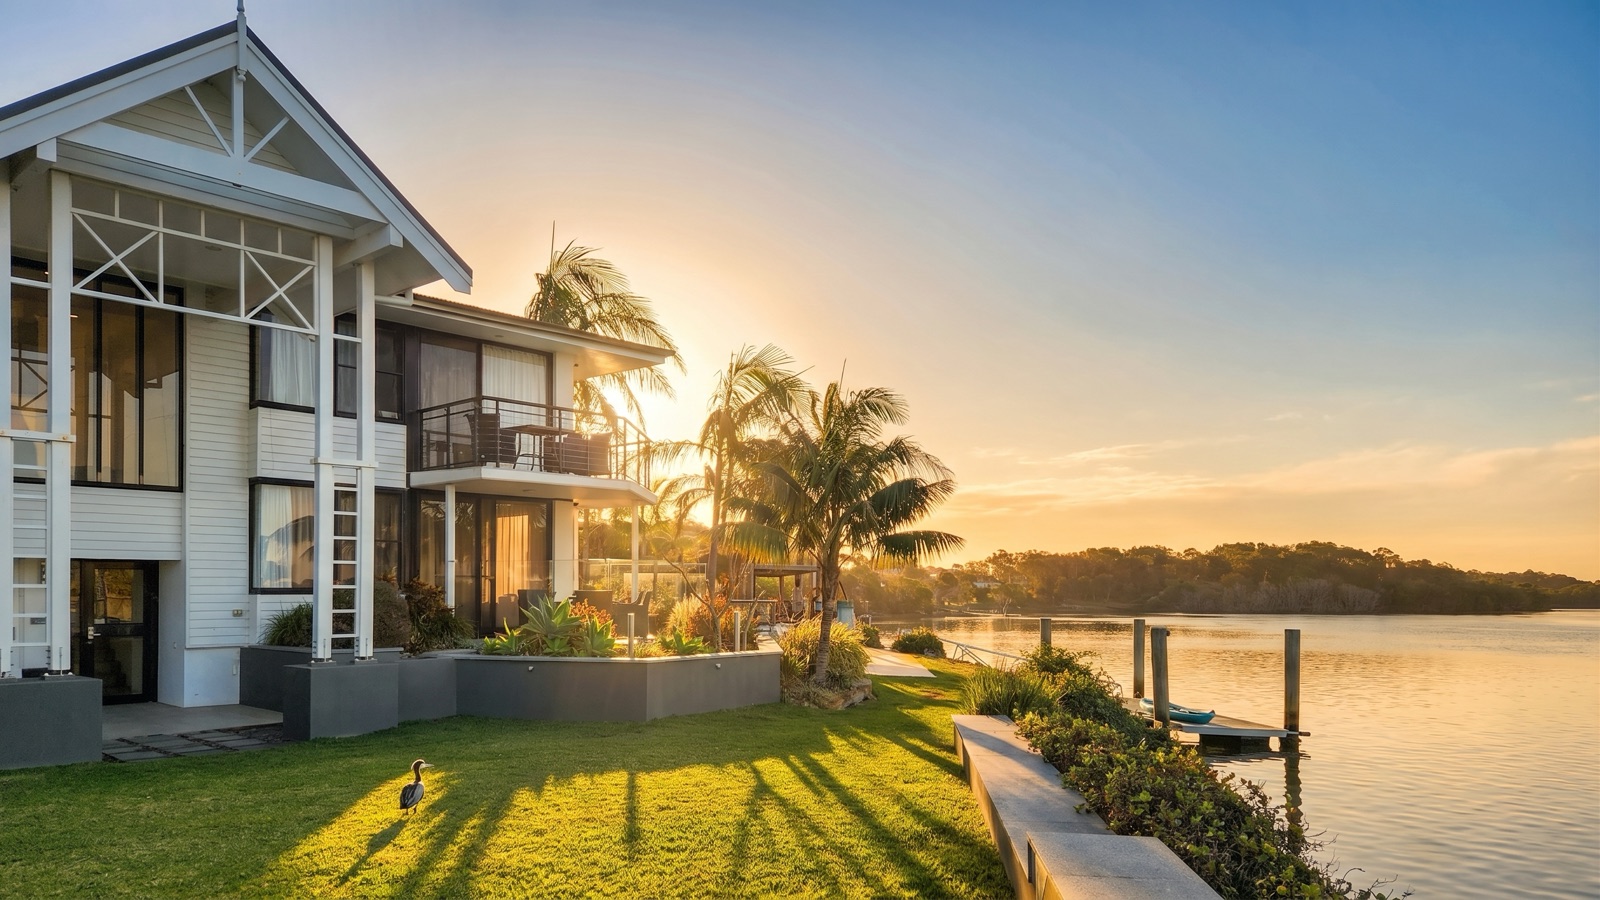
Shoot for the window. Lift the room.
Start with 50 free edits on your own listings, with no card required.
Claim your 50 free edits