Contents
Real estate photography tips for agents shooting on a phone
By the Duskpix team · Published 10 October 2026
A phone can shoot a listing that holds its own on the portals. Most of the gap between a phone photo and a professional one comes down to three things you control at the property: the light, the height you hold the phone, and keeping vertical lines straight. Get those right and editing has good material to work with. Get them wrong and no edit fully rescues the shot.
Before you shoot
- Open every blind and curtain, and turn on every light, including lamps and the rangehood light. Mixed light reads as warm and lived in; a dark corner reads as small.
- Clear benches, tables and the floor. Put away bins, shoes, towels, fridge magnets and anything personal.
- Close toilet lids and wardrobe doors, straighten the bed, and fold towels the same way.
- Move cars off the driveway and bins off the kerb before the exterior shots.
- Walk the property once without the phone and decide the angles first. It is faster than shooting everything twice.
Set up the phone
- Wipe the lens. A smudge softens every photo and blooms around windows and lights.
- Turn on the camera grid (on an iPhone it is in Settings, under Camera). The lines make it easy to keep walls upright and the horizon level.
- Shoot landscape, the shape listing galleries and brochures are laid out for.
- Use the main lens for most rooms, and the ultra-wide only in a tight room. The ultra-wide shows more of a small space but stretches anything near the frame’s edges.
- Do not zoom in to fake a closer view. NSW Fair Trading warns agents against zooming in on a view to make it look closer than it is (NSW Fair Trading).
Height and straight lines
Leaning walls are the clearest sign of an amateur property photo, and they come from tilting the phone. Hold it upright, not tipped up towards the ceiling or down towards the floor, and let the grid’s vertical lines sit parallel to door frames and corners.
- Hold the phone at about chest height for most rooms, and a little lower in small rooms such as bathrooms. Shooting from above head height makes a room look smaller.
- Stand in a corner or a doorway and shoot across the room, so the photo shows depth and two or three walls.
- Take two or three angles of each main room. The listing usually needs one, but you will not always know which until you see them side by side.
Use the light
- Shoot interiors in daylight with the lights on. Tap the screen on the room, not the window, to set the exposure; a bright window is better than a dark room.
- Shoot the front of the house when the sun is on it. Check which way it faces before you book the visit; a facade in its own shadow loses its colour.
- An overcast day gives even light with no hard shadows, which suits interiors and gardens. The flat sky can be finished later.
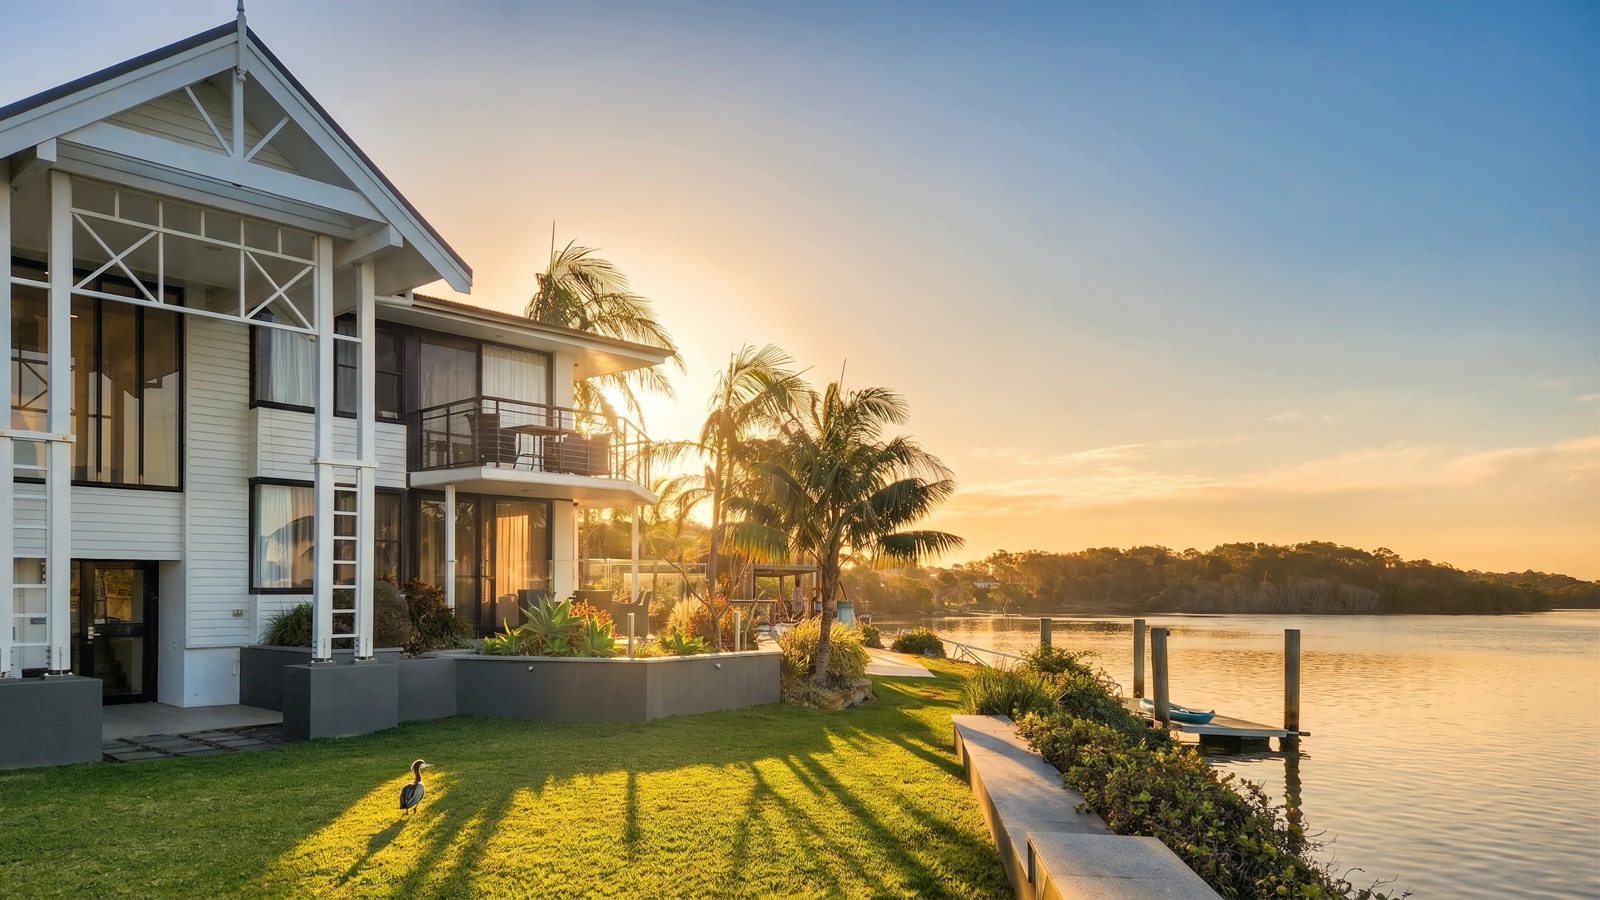
- For the hero exterior, the twenty minutes around sunset are hard to beat. If you cannot be there, a daytime shot can be converted to dusk afterwards; follow your agency’s policy on disclosing it.
The shot list
A typical house listing, in roughly the order the portals show it:
- The front of the house, straight on and from one corner
- The living areas, two angles each
- The kitchen, including one shot showing how it connects to the living area
- The main bedroom, then the other bedrooms
- The bathrooms, shot from the doorway
- The outdoor area and the garden
- The view, if there is one, and any feature a buyer will ask about: a fireplace, a pool, a shed
A photo of something nearby that is not on the property, such as a park or the beach, must be labelled “location shot” in NSW (NSW Fair Trading).
What editing should fix, and what it should not
Editing is where a good phone photo becomes a listing photo. Some of it is expected; some of it crosses a line.
- Fair to fix: brightness and colour, leaning verticals, cropping, a dull sky, a bin or a car left in shot, and furniture added to an empty room when the listing says it is staged.
- Not fair to fix: anything that changes the property itself. NSW Fair Trading says agents must not digitally add or remove features, and that lighting adjustments are acceptable only to make up for poor light (NSW Fair Trading). Do not remove power lines, cracks, stains or a neighbour’s wall, and do not paint over a damaged surface.
If you are unsure whether an edit crosses the line, ask whether a buyer walking in on Saturday would feel misled. Our article on virtual staging in Australia covers disclosure in more detail.
From phone to listing in Duskpix
Duskpix is built for the agent who shoots on a phone. Take the photos with your phone’s camera inside the app, or add the ones you already have, and the whole set sits in one project. Run Listing Ready over the set for colour and light, use Corrections to straighten any leaning verticals and crop, and Declutter for the bins and benches you missed. Then pick one or two hero shots for a look such as Twilight. See the tools and real before and after examples.
You've got the photos. Let's finish them.
Start with 50 free edits on your own listings, with no card required.
Claim your 50 free edits